Your cart is currently empty!
5 Tumblers for Beginners to Make
So, you think you are ready to enter the world of custom tumblers? I warn you, it’s 100% fun and 1000% addictive! Making custom tumblers can be a profoundly gratifying and calming way to relax your mind and lift your spirits. However, figuring out how to start can be a little unnerving. What type of tumbler should you make? What materials and equipment do you need? How do I get started? Based on our experience, and the experience of some of our crafting besties, we’ve compiled a list of the top 5 tumblers for beginners in the custom tumbler world.
Why These Tumblers?
While the creative possibilities are endless, there are a few types of tumblers that any beginner can do and have amazingly beautiful results (talk about your instant confidence booster!). Many of these techniques also serve as building blocks and embellishments for more complicated designs. Each of these styles have been graded in the following areas:
- Time Spent – the total time required, including priming, application, and final coats. Drying time is not included in this factor. Measured in hours.
- Difficulty – The total number of steps required for the application process. While all of these are simple, some require a few more steps for completion than others. This will be measure on a scale of 1 (easiest) to 5 (most difficult).
- Cost Effectiveness – Total cost of materials needed for the specific application process. This does not include materials that are universal to all cups (the type of cup, your cup turner, epoxy resin, gloves, etc. More on this is covered below in Tumbler Basics)
But First…Tumbler Basics
Whether tumblers for beginners or tumblers for the more advanced, there a few things that you will need to have for all projects. As mentioned above, the following tools, materials, and equipment are necessary to complete your project.
- Disposable gloves – you will be using paints, spray paints, inks, glues, and glitters…disposable gloves will be your most valuable possession to avoiding sticky hands and cross contamination (there is nothing worse than have a beautiful black glittered cup with a big green glitter speck on it!)
- Epoxy Resin – This is what gives your cups that nice high gloss shine! And, it provides durability and strength. There are several different types of resin, and many different brands to choose from. (Need the low down on resin, click here). You may need to try out a few different types before you find one that works best for you.
- A cup turner or cup stand – Your tumbler will need somewhere to dry during the different stages. Cup stands are the most affordable option and can even be made very simply (click here to learn how). A cup turner however, offers reassurance of even distribution (critical when doing the resin steps) and can ease certain application steps. They too can be made, but cost a few more dollars than the stand. There are several manufactured models available on Etsy or Amazon as well. And if you don’t want to wait, you can go to your local JoAnns or Michaels and purchase their version. For beginners, a single turner will suffice. If you find this is a craft you want to move forward with, there are multiple cup and turner/stand options that can be considered.
- A respirator – This is NON-NEGOTIABLE, mmkay? All the materials you will be using have fumes. And some can be eye or skin irritants. We want you to make pretty cups and things safely. So please get a respirator (here’s the one we use) with organic vapor cartridges. If you can not find one, because you know, Covid 19 is our new normal now, then at least get a mask with a filter in it.
- Safety Glasses – I’ll be a little more relaxed with this safety precaustion than the respirator. But if you find that your eyes get irritated from the adhesives and epoxy, then consider investing in some safety glasses or goggles.
- Artistic Paint Brushes – Not the industrial paint brushes from Home Depot. You want a good synthetic bristle brand in a variety of sizes.
Our 5 Tumblers for Beginners
**This is just a list. For instructionals on how to make these, click the links at the end of each section.*
Hydrodip
First up on our list is the Hydrodip tumbler. With the only materials being your choice of spray paints and a bucket of water, This is by far the simplest cup to make. They are fun and easy and result in some crazy cool, unique patterns. We love this technique because it’s virtually impossible to mess up, and it can be easily incorporated into more complicated designs.
Materials Needed: Spray paints (your choice of colors); water; paper towel
Optional Materials Needed: Vinyl Decal
Time: Less than 1 hour
Difficulty: 1
Cost: $10 (cost of ~2 cans of spray paint)
Video Tutorial
Alcohol Inks
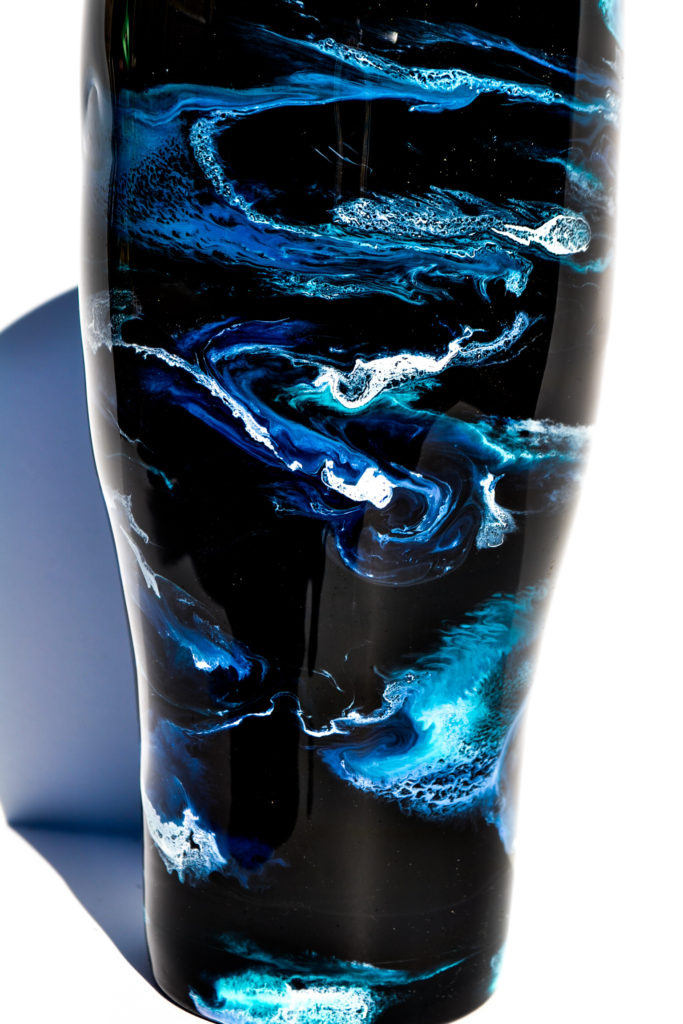
Next up is the Alcohol Ink tumbler. These tumbler are super cool and alcohol inks can create some pretty awesome effects! These tumblers involve the use of alcohol inks, a type of ink that uses alcohol as a solvent (think a liquid Sharpie®). While the hydrodip tumblers were virtually impossible to mess up, the alcohol inks are the easiest mistakes to fix if you do mess up. If you don’t like your design, guess what? Rub some Isopropyl Alcohol on your cup and wipe away any evidence of your faux-pas!
Materials Needed: Alcohol Inks (your choice of colors); 91% Isopropyl Alcohol; paint brush(es)
Optional Materials Needed: Vinyl Decal
Time: Less than 1 hour
Difficulty: 2
Cost: $20 (alcohol inks are expensive, about $11.99 for a 3 pack, so cost can vary depending on the number of colors you want to use)
Painted Wood Grains
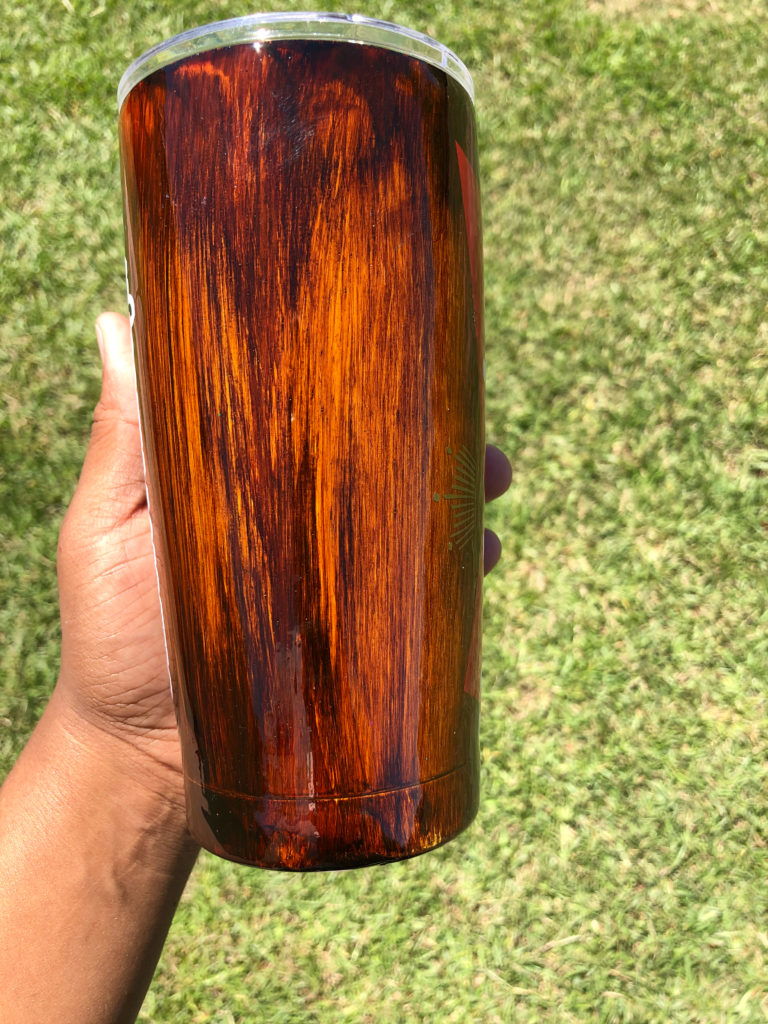
Next for tumblers for beginners is the wood grain tumbler. Wood grain cups are a favorite of mine, even now, long past my beginner stage. In truth, wood grains are just as easy as alcohol ink tumblers – largely in part because many of them are created with alcohol inks. However if you find that you don’t want to spend the money on the alcohol inks needed to create your wood grain look, you can opt for acrylic paint. Acrylic paints will give more of a grainier, distressed look (think of a old worn fence) to your cup, whereas alcohol inks give a more uniform, wood plank look (think of a baseball or wood flooring in your home). Both are simplistic in application.
Materials Needed: Alcohol Inks (your choice of colors); 91% Isopropyl Alcohol; 1” paint brush(es) or acrylic paints (if just starting out, acrylic paints from Walmart will do until you perfect your technique)
Optional Materials Needed: Vinyl Decal
Time: Less than 1 hour
Difficulty: 3
Cost: $5 -$25 (alcohol inks are expensive, about $11.99 for a 3 pack, whereas acrylic paints are inexpensive, so cost can vary depending on the number of colors you want to use and which medium you’ll use)
Video Tutorial (Distressed wood)
Video Tutorial (Alcohol Ink wood grain)
Basic Glitter
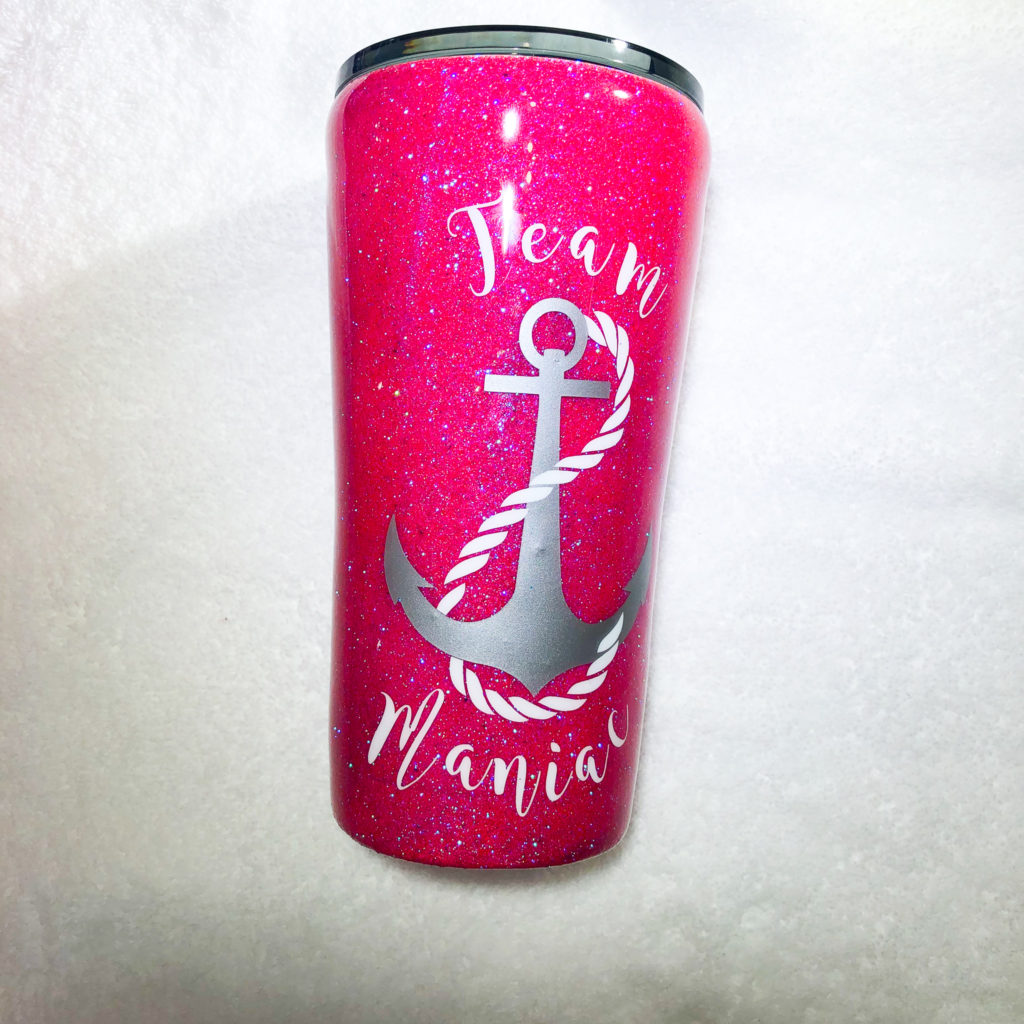
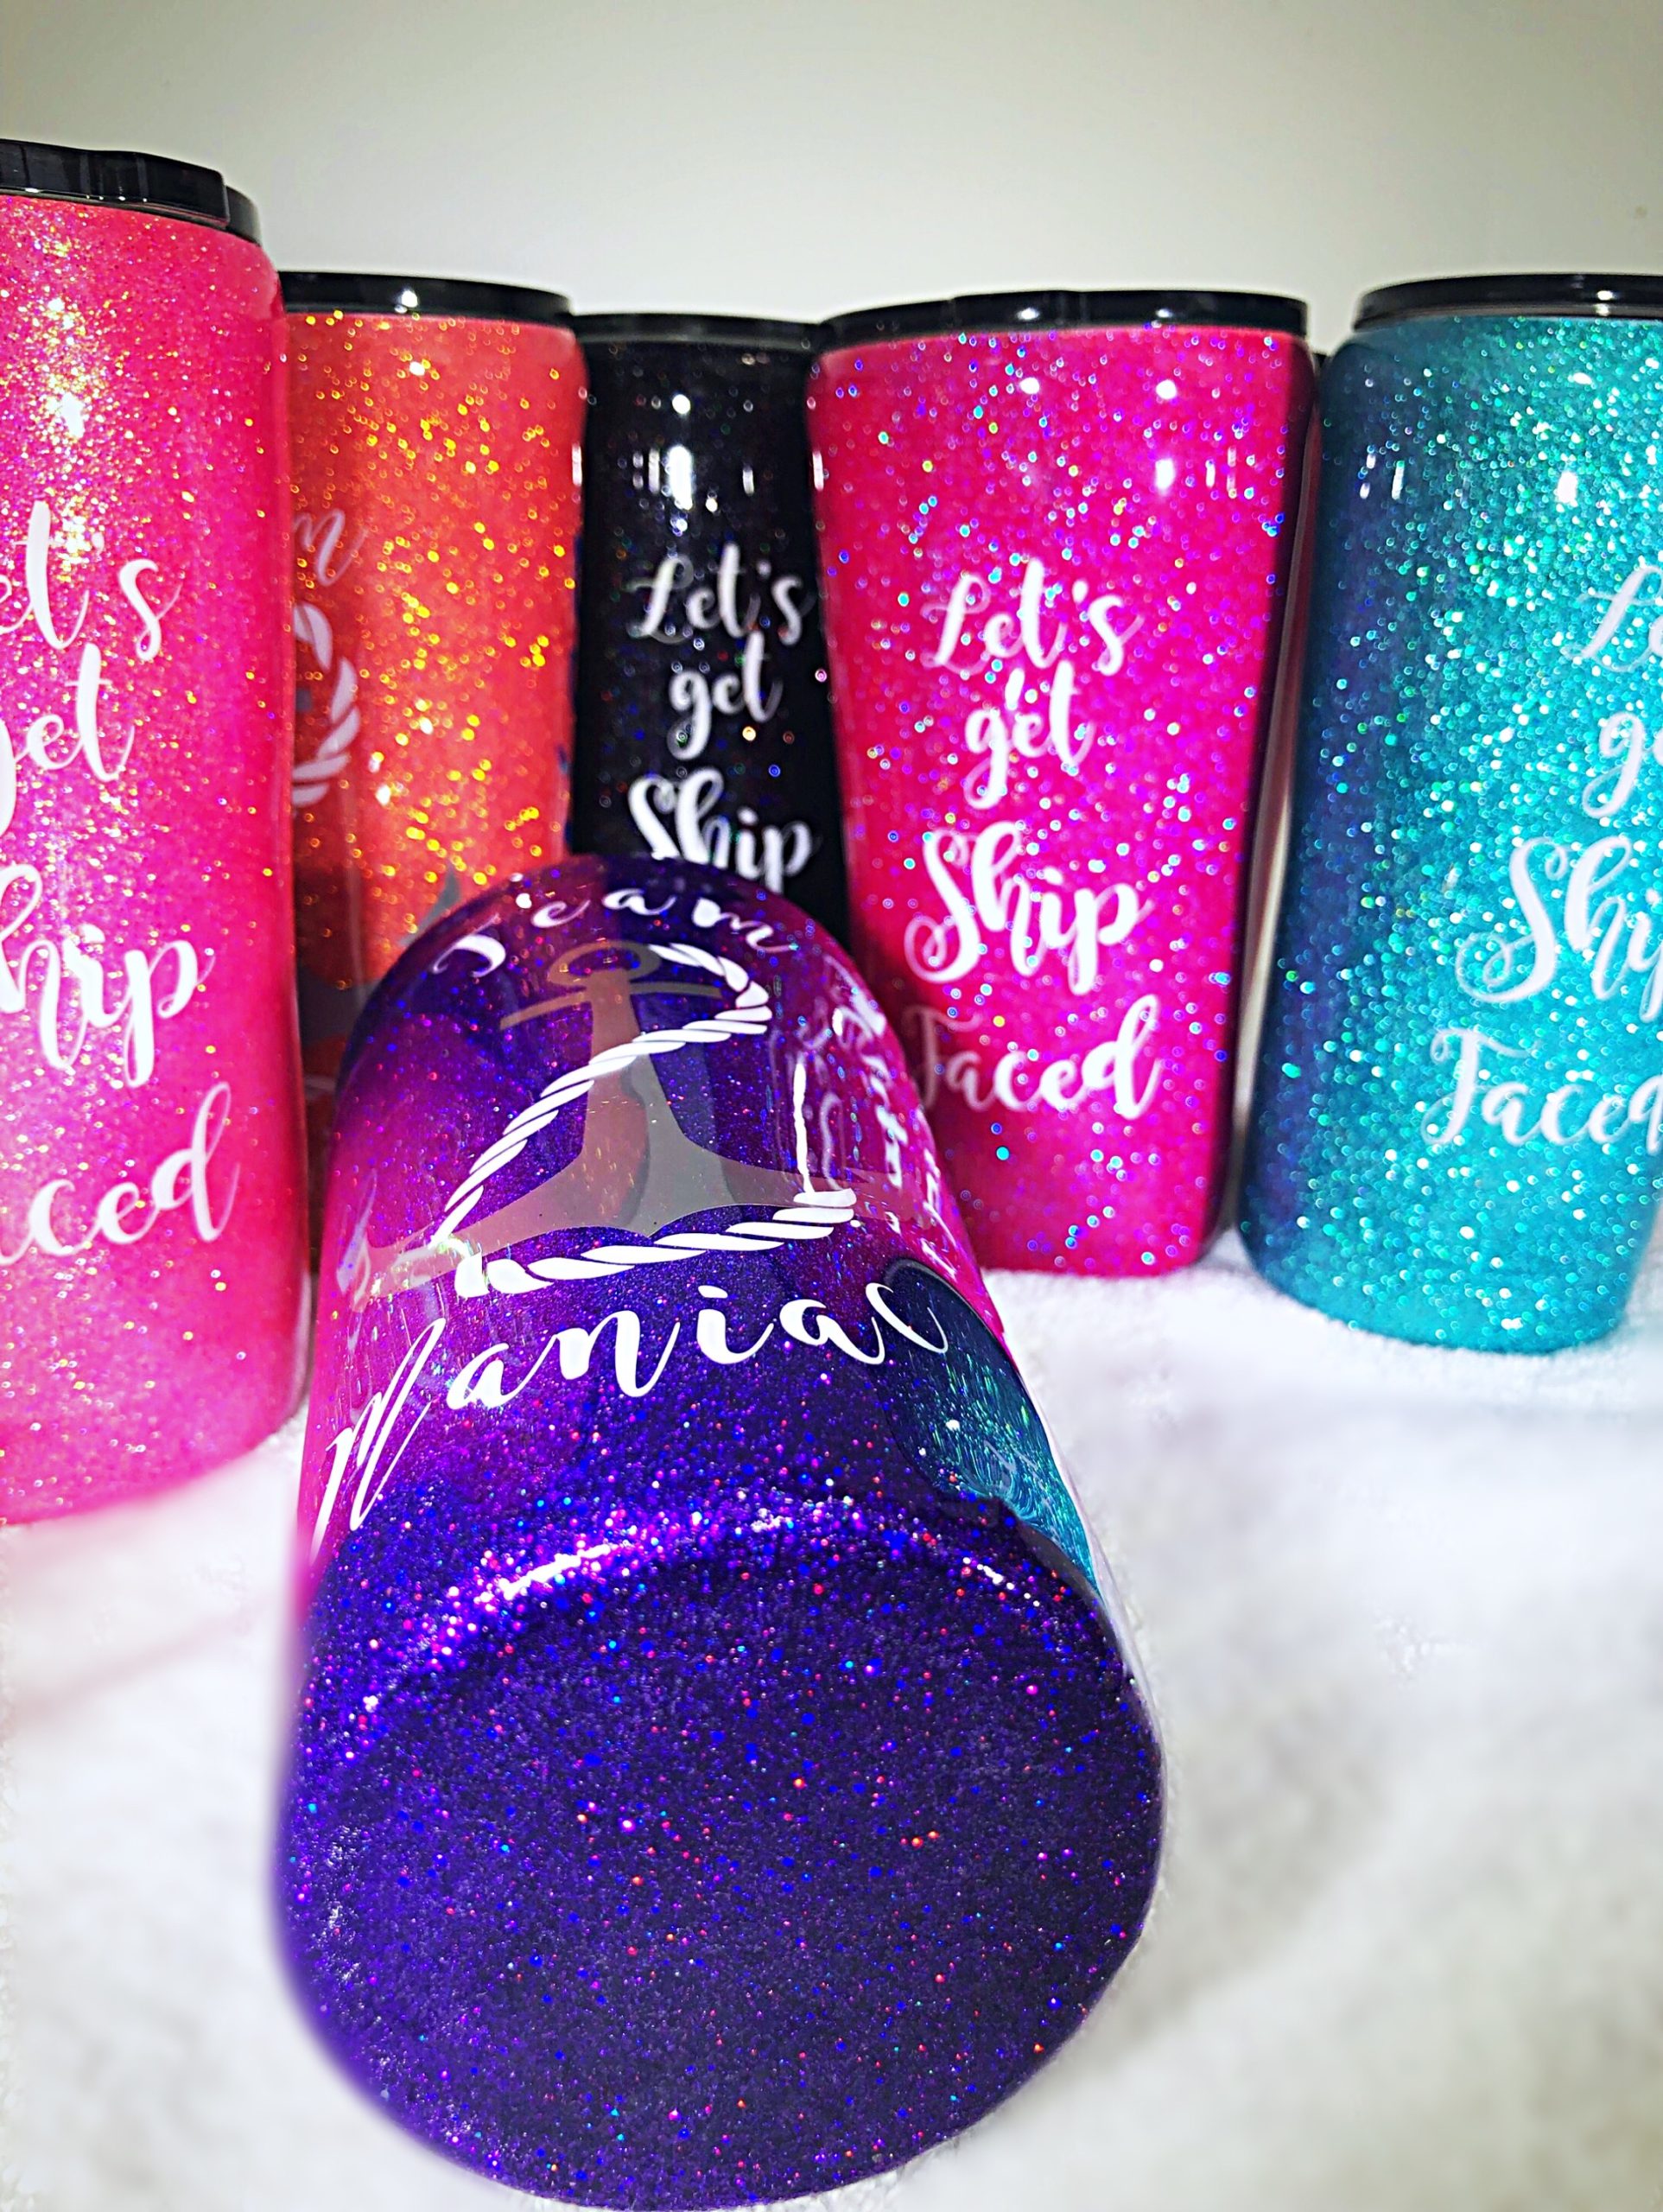
Okay, now we’re getting to the true medium of custom tumblers…the glitter tumbler! Truthfully speaking, glitter tumblers are a blog all to themselves, but we’ll stick to the topic at hand for now. Single color glitter tumblers are very simple tumbler for beginners to do and there’s several different application methods that work well. I recommend starting out with a fine or medium glitter. They provide great coverage and are easier to epoxy than chunky glitters. Glitters come in just about every color imaginable and there are scores of glitter sellers (check out our favorites here), but there is a big difference in the type of glitter you use. If it’s your first cup, I would use a craft glitter. These are the basic glitters that can be found at Walmart, Target, JoAnns, etc. I definitely recommend using these until you get the hang of what you’re doing. Once you’re comfortable with your methods and results, upgrade to a polyester glitter. They have even better coverage and last longer.
Materials Needed: Glitter (your choice of colors); Modge Podge Adhesive or Tack It Over and Over or Epoxy;
Optional Materials Needed: Vinyl Decal
Time: 12 -24 hours
Difficulty: 4
Cost: $12 -$25 (dependent on the type of glitter you choose)
Dirty Pours
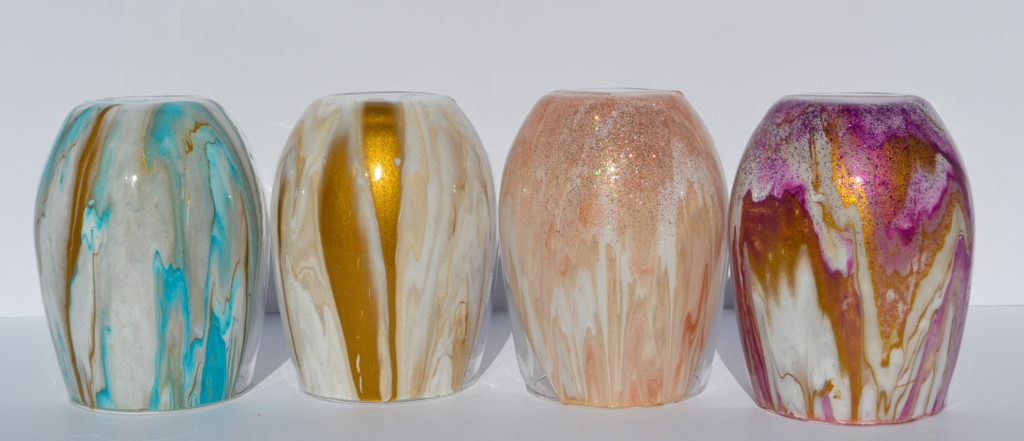
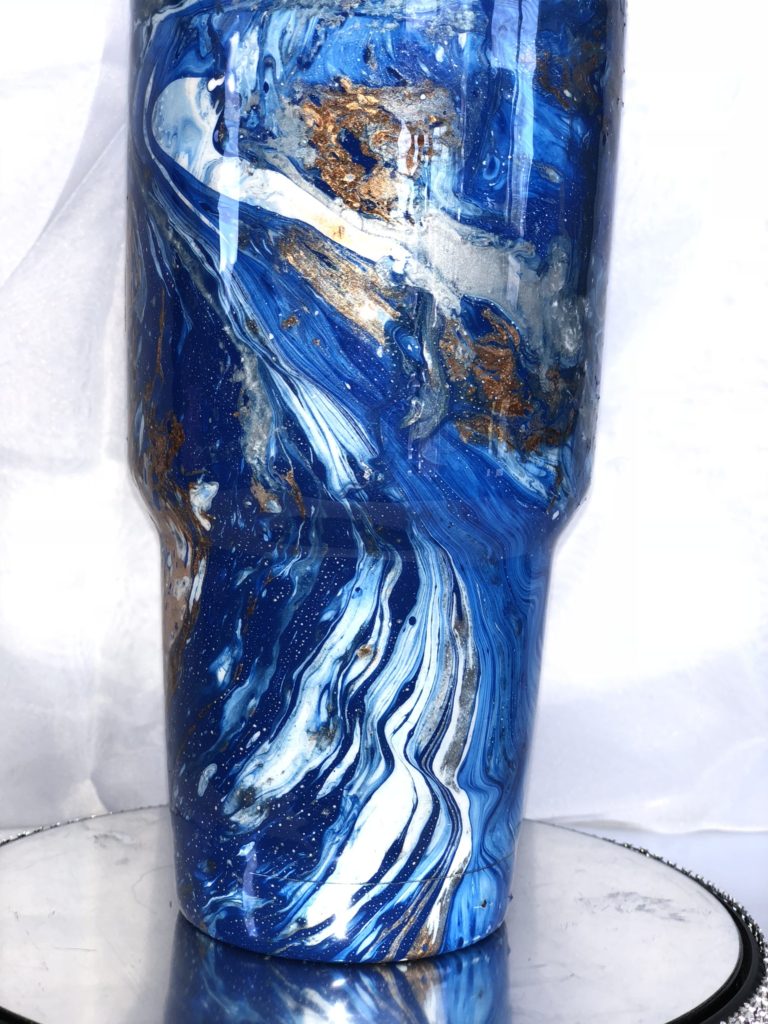
Last on our list, but certainly not least, is the dirty pour. Dirty pours are very fun to do, and have become quite popular latterly. The dirty pour method can be applied to many things beside custom tumblers. While the concept is simple, it does take some effort and thought into creating the right design and mixing the colors.
Materials Needed: Acrylic paints (if just starting out, acrylic paints from Walmart will do until you perfect your technique), Water, Floetrol (find it here), 12 oz plastic disposable cup
Optional Materials Needed: Vinyl Decal
Time: 6-12 hours
Difficulty: 5
Cost: $15 -$20 (most of this cost is for the Floetrol)
This list of tumblers for beginners is no way an exhaustive list. The world of custom tumblers is fun and rewarding, and you may find there are some styles, as you continue with tumblers, that come easier for you than others. Starting with the basics laid out here and you’ll be on your way to making anything that your mind can dream of.
Happy Crafting!

